


INKISH.TV proudly presents: Tom Moulaert · Trainer & Application Specialist · Lab9 · Belgium
At the Argos Inspiration Days 2018, Trainer & Application Specialist Tom Moulaert gave the audience a range of tips- and tricks for the Adobe CC suite of programs. Really cool.
Good morning, I’m Tom Moulaert, I work at Lab9. We are an Adobe certified training center. And I’m coming to show you some new things in design Illustrative Photoshop. I’m going to share some tips and tricks with you guys, and later today I will have a small session on productivity. So, like I said we are an Adobe training center, and I will be giving design tips and tricks. And I’m going to start off with Illustrator; because there have been some changes in illustrator … If you open a new document, you will immediately notice the interface has changed in a lot of Adobe programs, If you choose to make a thing from mobile or web or for print; you get a lot of templates that are for free that you can download and you can use. But I am going to start from scratch. I’ll choose a new full page and what you see immediately: is that the properties bar on top; the controls bar is gone because Adobe has changed it to a properties bar and the properties bar is, just as well as the controls bar, contextual.
But you can do a lot more with it than with the control bar. For instance, with nothing selected, I can choose to show my rulers, to show my transparency grid … When I drag a guide, I can lock them, I can hide them, I can go to my document set up and some bleed if I want. And the moment I draw something; a rectangle for instance, I see my properties bar changing, and all my panels I used in the past, my transform panel, for instance, I don’t need it anymore because it’s all over here. You can see transform over here and if I click on the dots, I get my complete transform panel. If I choose to have rounded corners, I can adjust it over here. It’s really fast, and it’s really contextual.
Okay, if I want to join those two, in the past I would use my pathfinder, I still have it here. I don’t know, but has anybody heard of the shape builder tool? It’s situated over here. It’s not brand new but it’s really handy, because now I can use it and drag over it to unify things. Or if I want to cut out this part with my option or alt, I can delete it. Because if your artwork is complex, and you use the pathfinder, from time to time it’s difficult because you have to copy things, cut things out, paste and place, and then cut some other things out and unify things. With my shape builder tool, it goes really fast. If I, for instance, by hit, I’m going to make an Instagram logo. You know, if you click afterwards, the second click highlights the object and that’s what I’m going to use to focus my center tool, like that. Just a second. Paste in front.
Are you not prepared, Tom?
I am prepared.
I’m just kidding with you.
Wait a second. Needs to come like logo, I can now create it in seconds because my shape builder tool … I can cut things out and I’m done. But what’s also new, not new, but if I take my type tool, and I choose some type; I’m going to blow it up, it’s in the past with a nice feature that was called the touch type tool. You can find it behind the type tool, but in the past we- my voice is gone. (Laughing.) Okay, in the past we also would find it in my characters, bum bum bum bum, characters … I can find it over here as well. You could over here, but it’s gone. It’s not gone. If you choose from the fly out menu over there, you can choose to show touch type tool; and to show what it does, you just click a character and you can scale it, rotate it, grow it, squeeze it; you can do whatever with it. Normally you wouldn’t find it, use it in this way but we are at Argos inspiration days.
I’m going to choose a nice font for it, and now I can start playing around with it, because if I take my touch type tool; I can blow up my ‘A’, move it around, place it together, and get going. Where is it? It’s over here. And it stays all in one text frame, meaning that you can change your text afterwards. You don’t have to outline it, you don’t have to break it apart, you just can get going. If I fiddle around with it a little more; I group it, and I go to my effects and I choose for arch, for instance. Not that much. I can do something like that, and I can always change it in my appearance panel, because we have it at … as well handy with us. So I go to effects, it will become an effect in the appearance panel so I can keep changing things.
And you can stack them, because if I now put a stroke on it, in white, and I choose from a stroke; I got my stroke selected, path, offset path … I can do stuff like that in the fly, and I can change it afterwards. Okay, what’s also new in Illustrator: a lot of art boards. In the past you could have a hundred art boards, now you have a thousand art boards. Anybody uses the art boards in Illustrator? Nobody? Okay. For instance, I want to create a mobile layout for an iPhone 6, I can choose as many art boards as I want, up to a thousand. And if I choose from more settings; I can choose okay, make seventeen rows and space them by twenty pixels. Create my document. I can have as many art boards as I want, as long as it fits inside of illustrator.
So mobile, iPhone six, thirty art boards; and I got them. Bam. And with my art board tool, in the past I could only select one art board, and move it. Now, I can shift-click and select the art boards I want, and move them where I want. If I, afterwards decide I want to rearrange them, I choose from art board options and I can say arrange them, not the art board options; rearrange all and I can say I want full columns. Spaced like that. And I want the order to be like that, okay. And they are reordered. And it’s really handy because it keeps your document really manageable. Okay, let’s draw a header on it, with the black fill and no stroke. I’m going to align it to the top, show options, I want to align to my art board to the top. Now I can cut it and choose from edit, paste on all art boards.
And bam, I’m ready. And that way I can design really fast for different sizes. I can resize each of them individually. So for instance, this one is going to be a long one, with a lot of content. I can change the size. Now what’s also really handy … I’m going to use another file for it; new, it’s one of the templates I downloaded. Okay, I’m not going to bother that one. For instance, if I want to create an art board for this, for just that one, I’m going to copy it, I’m going to paste it over here and if I draw an art board around it, after I selected my art board tool I can go to preset and I say; fit to selected art.
And that art board sizes the way my art is prepared. Really, really handy. It’s so-so quite new, but I’m going to leave it because I don’t have much time anymore, I see. I’m going to switch to Photoshop. What’s new in Photoshop … I’m going to create a fairly normal sized canvas. Thank you Photoshop.
So Tom, five minutes more?
Yes.
Okay.
What’s fairly new … I’m going to use this one, is in the past if I used my brush tool, it was really difficult to draw by hand. If I, for instance, want to write my name; the ‘T’ of my name, it’s jagged and edgy and not nice to look at. In comes the new smoothing option. You see it goes fast, slower; but I can write with it. What’s happening is: if I go to my preferences, cursors, show brush leash while smoothing. Is what’s happening, there’s a little leash, and that pulls my drawing. So if I want to make selections, it those really much, much, much smoother. What’s also new, in the Photoshop part; is we now have … In the past if you wanted to cut this lady out, you could have used the magnetic lasso. You could have used the magic wand, the quick selection tool, but if you select the quick selection tool, you have to now select subject. And Photoshop does a basic selection for you, because we always have to refine it, but it goes fast, it goes smooth.
I’m now going to select the mask and over here it’s not that good, but I can brush it in. If I want to make the selection over her hair better, I have a refine edge tool over here, and you see in a few minutes over here; I have really good selection. And in the end, I can output it to selection or mask. So my model now over here is cut out really good. I’m going to show you one small thing in Design. Not that new, but it’s a nice one. For instance, if I want to make a layout with this photo, and I want to use colors out of it … Many people would go to the eye drop tool and say: Okay, I want to use this red. I want to use that red for my frame.
And it’s nowhere in my swatches. And if I add that color to my swatches, it gets [inaudible 00:22:39]. With my color team tool, I can choose the photo and it selects the color out of my photo. If I only want to use the colors out of a selection, I make a selection and only those colors that are selected; meaning, I’m ready. Meaning I can use all these colors to fill my artwork or I can add them directly in a group in CYK to my swatches panel. If I want to add only one color, I can option-click on this one and it gets added in CYK in your swatches panel. That’s it for me, for now. We are situated in the booth over there and I will come back later today with some other tricks at one-thirty, I think.
I think it was one thirty, yeah.
Okay. Thank you for …


No Data Found.
Content for this section will appear here once available
Mon April 1st
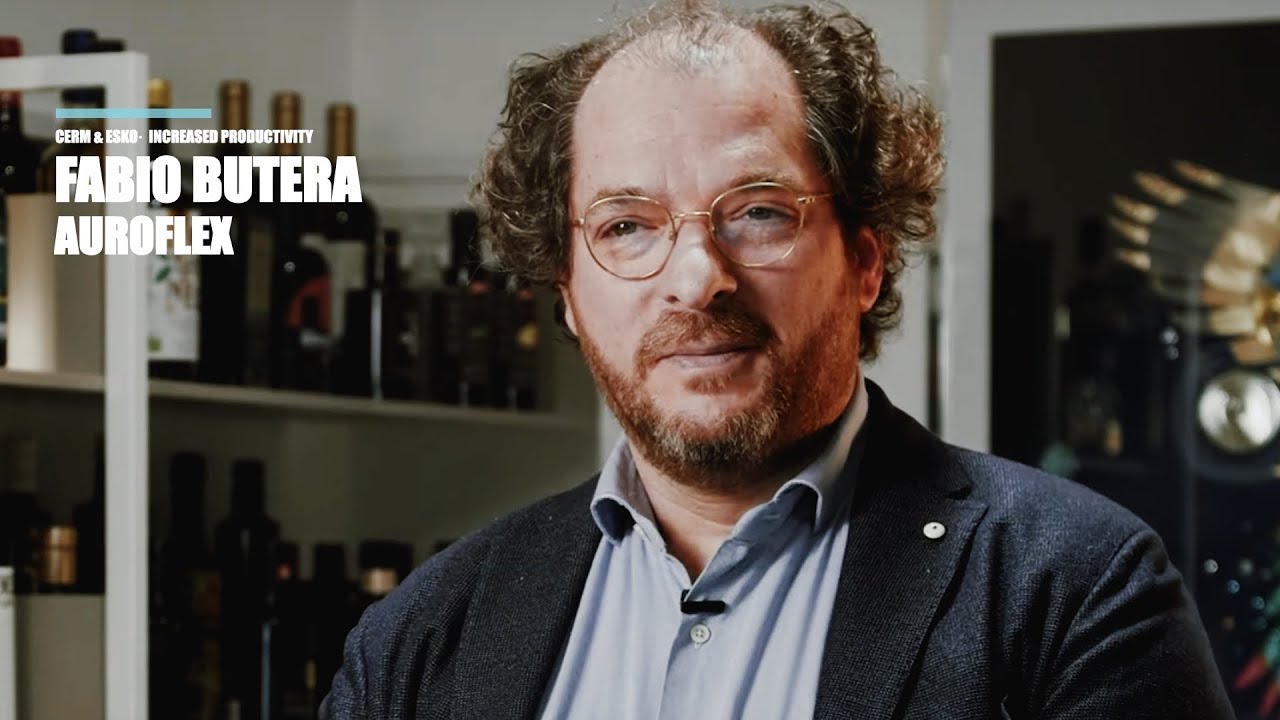
Increased Productivity using CERM and ESKO ·...
Increased productivity is extremely important - and yes, CERM and ESKO play an enormous role with the Sicialian label producer Auroflex. Still, the business is developed around a quality and passion for supporting the Sicilian wine, food, and luxury products industry. But Auroflex does many things that are a bit out of the standard, for example, an annual design competition, where designers are invited to challenge Auroflex - and all the designs are produced to show what's possible - and as Fabio Butera tells INKISH, this develops a close relationship between Auroflex and the designers, that eventually will make some of the most complex and interesting design. Auroflex produces labels in both flexo, digital, and offset. The most important reason for investment in print technology is from Nilpeter - an offset/flexo hybrid machine - by all means, an amazing company, and see how CERM and ESKO are used in planning, pricing, color management, and, of course, inspection - in tightly integrated solutions - merging beauty with efficiency - love it.